If you’ve ever spent hours looking for just the right lampshade, only to have to settle for something that’s good enough (but not great), I have the perfect solution for you today: DIY fabric lampshades! Choose your own fabric, shape and size for a completely bespoke lampshade that will suit your interiors perfectly.
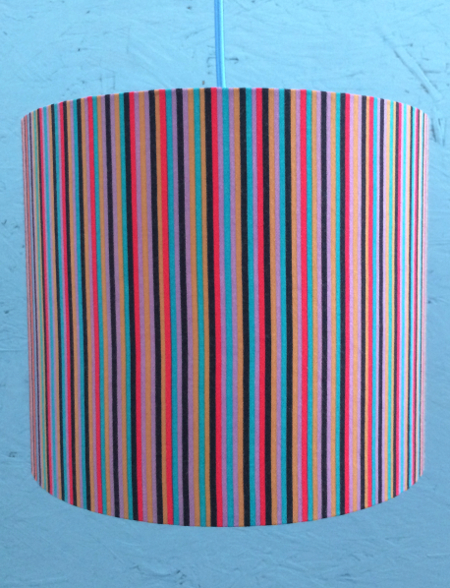
Image source: Kitsch Stitch
For this tutorial, I’ve enlisted the help of Leonie McDonald from Kitsch Stitch, seller of vintage fabric and maker of lovely lampshades. Leonie has provided us with a step-by-step guide to making lampshades. Follow the tutorial below, and you’ll be creating your own in no time!
DIY Drum Lampshade Tutorial
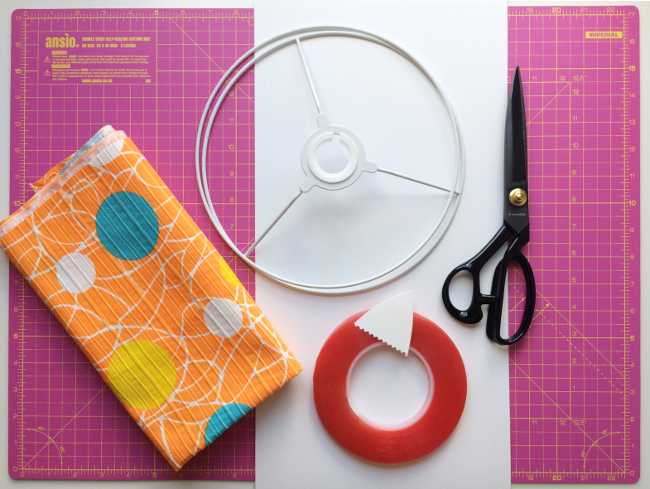
First things first, gather your tools and supplies. For a 25cm drum lampshade, you will need:
- Cotton or linen fabric measuring at least 820mm wide x 255mm
- Sharp fabric scissors or rotary cutter
- Self-adhesive PVC lampshade panel
- Lampshade ring set
- Very strong double-sided tape
- Rolled edge tool, for finishing
A lampshade making kit is an affordable way to source everything you need (except fabric and scissors) to make one lampshade. Lampshade kits with and without fabric will be coming to my Etsy shop very soon.
Once you’ve gathered your supplies, it’s time to start making.
Step 1: Prepare your work space; you need a large and clean flat surface.
Step 2: Prepare your fabric: launder (even brand new fabrics) and iron before cutting to size.
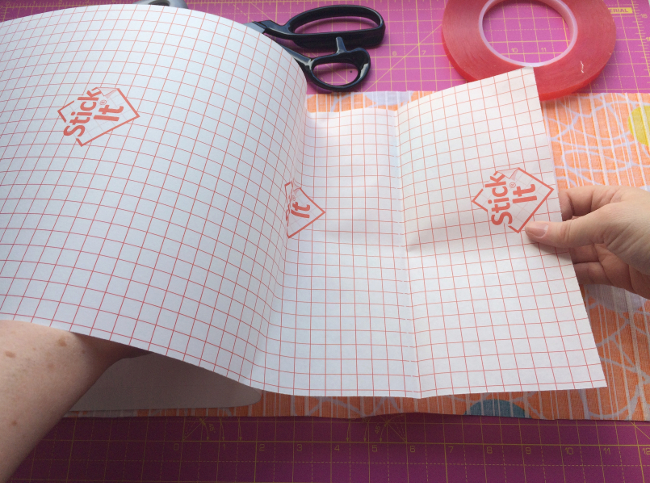
Step 3: Place your fabric face down, and position the self-adhesive panel on top.
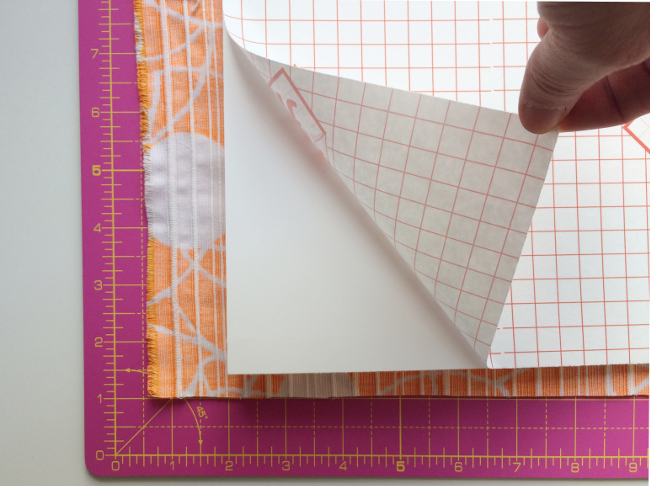
Step 4: When you’re happy with the placement, peel back approximately 10cm of the paper backing. Turn the panel so the adhesive side is facing the fabric, and stick down.
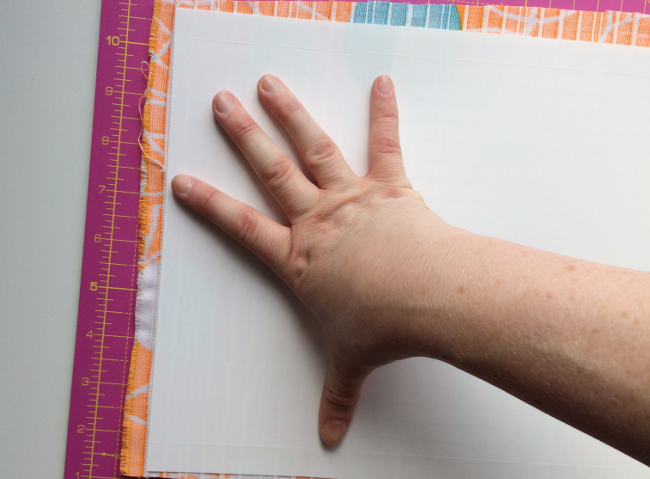
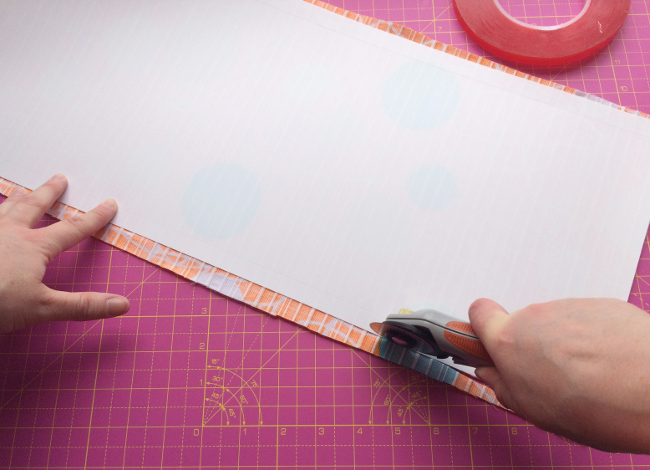
Step 5: Moving slowly and steadily, peel back the paper backing 10cm at a time and press the panel onto the fabric. Use your hands to smooth out. When the panel is firmly stuck down, it’s time to trim the excess fabric.
Step 6: Using scissors or a rotary cutter, remove excess fabric from the edges of the panel. There should be no overhang.
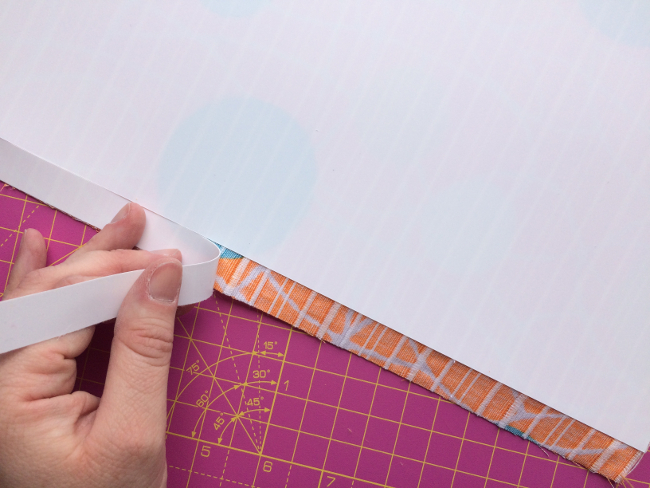
Step 7: Now find the crease lines (kiss cuts) along the long edges of the panel. Snap these back to break the PVC.
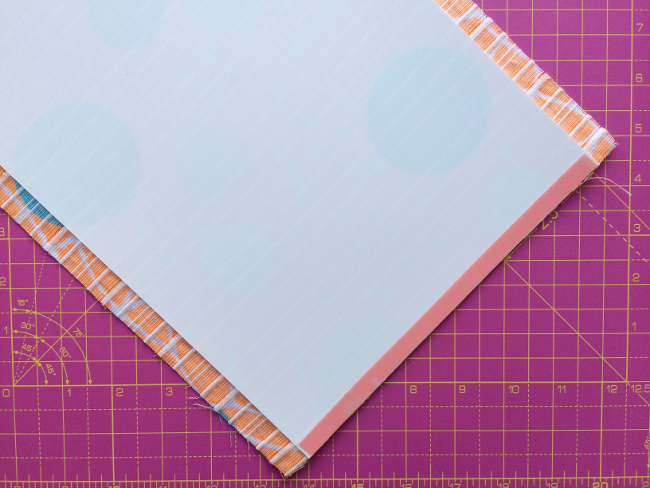
Step 8: Carefully remove the broken strips of PVC to reveal about 1.3cm of fabric.
Step 9: Apply double-sided tape to one short edge of the PVC panel. This will be used to seal the seam. Remove the tape backing and place your panel to one side.
Step 10: Apply double-side tape to your ring set. Press the tape down evenly and firmly to the centre of the wire and remove the tape backing. Do the same for both rings.
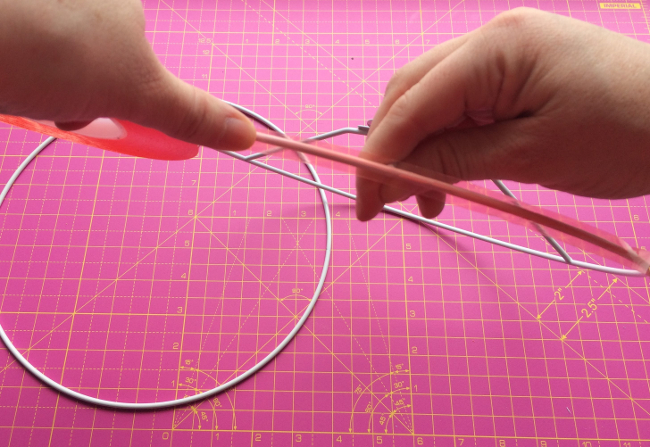
Step 11: Place the rings on the edge of the PVC panel, starting at the short edge without the double-sided tape. You want your rings to be as close to the panel edge as possible, without overlapping onto the fabric.
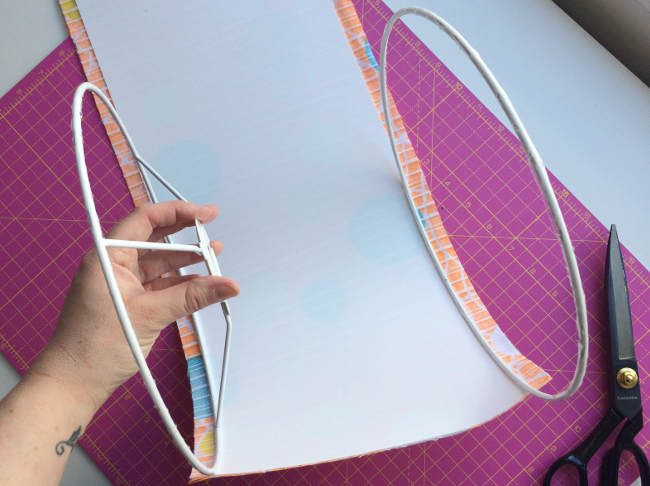
TIP: Make sure your utility ring faces the right direction. It should point down into the lampshade as pictured. If the pattern on your fabric is directional, you’ll need to decide now if this lampshade is to be used for a lamp or ceiling light. The utility ring needs to be at the bottom of the shade for a lamp and at the top for a ceiling light.
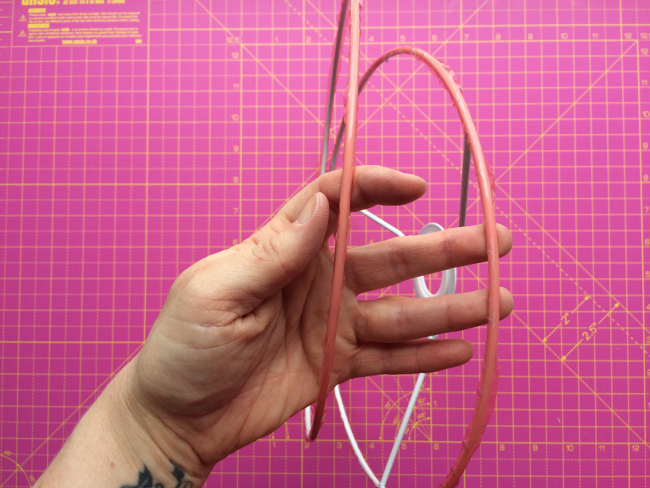
Step 12: Keeping in line with the PVC edge at all times, begin slowly rolling both rings towards the seam edge. If you make a mistake, roll the rings back and correct. It will become easier to stay in line as the lampshade takes shape.
Step 13: When you get to the seam, press the tape down onto the fabric gently. Then turn the lampshade over so the seam is on a hard surface, apply firm pressure onto the tape from the inside of the shade. If you have one, you can use a seam roller here.
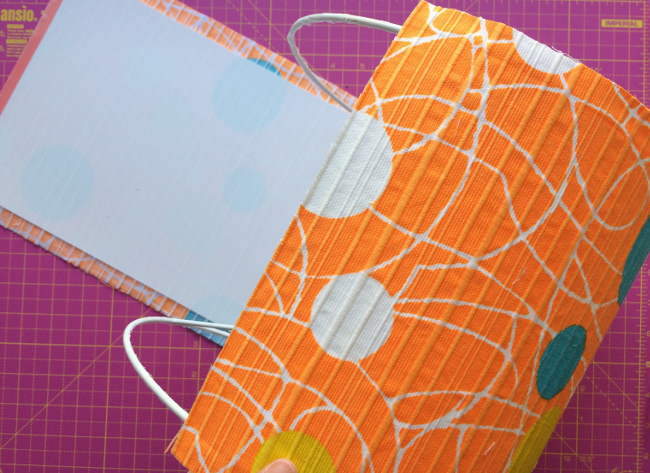
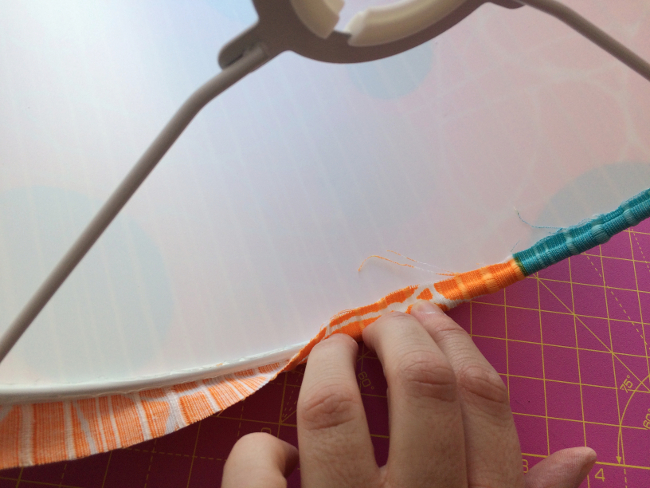
Step 14: Now it’s time to finish the fabric edges. First, make some small cuts in the fabric in line with the struts on the utility ring; this will make the fabric easier to fold.
Step 15: Then, pull the fabric taut and fold onto the sticky rings. Do this all the way around the shade, and at both ends.
Step 16: Use the finishing tool to push the fabric behind the rings, forcing the tool into the gap between the ring and PVC to tuck the fabric in.
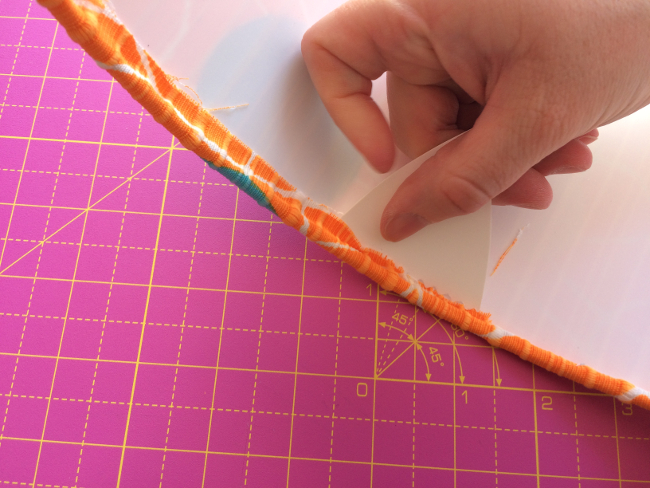
Step 17: Continue all the way around the shade until you’re happy with the finish. Snip away any loose threads in the seam or around the rings.
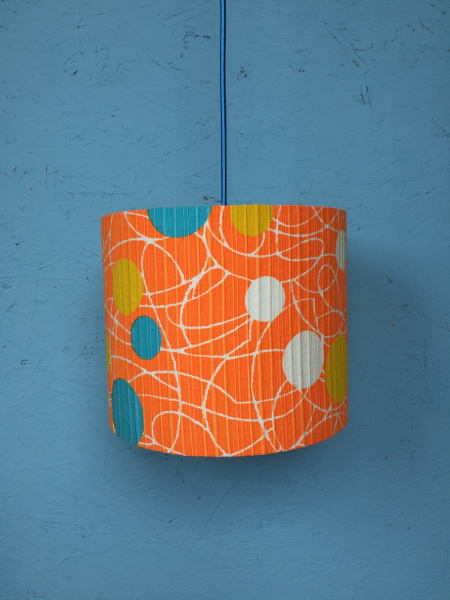
Congratulations, you now have a professionally finished, bespoke lampshade!
Thanks for following along with this tutorial. If you have any questions about lampshade making or the right fabrics to use, you can contact Leonie through her Etsy shop!


Comments are closed.